
Hansel and Gretel, Making the Gingerbread House and final project reveal
In the next and last chapter of our Hansel and Gretel doll making series, we cover how to sew a gingerbread house, so that both dolls can be kept together at all times. As Hansel and Gretel liked to do.
Now, if you subscribed to my YouTube channel, you should have seen this chapter much earlier, just when I published it.
My apologies for that, but I have to confess I have been lagging on updating my blog with the latest installments, only because the end of November and beginning of December have been jam-packed with excitement.
If you want to check out the video on how the little tote is put together, you can watch it below, or head to my YouTube channel to read the comments from other makers.
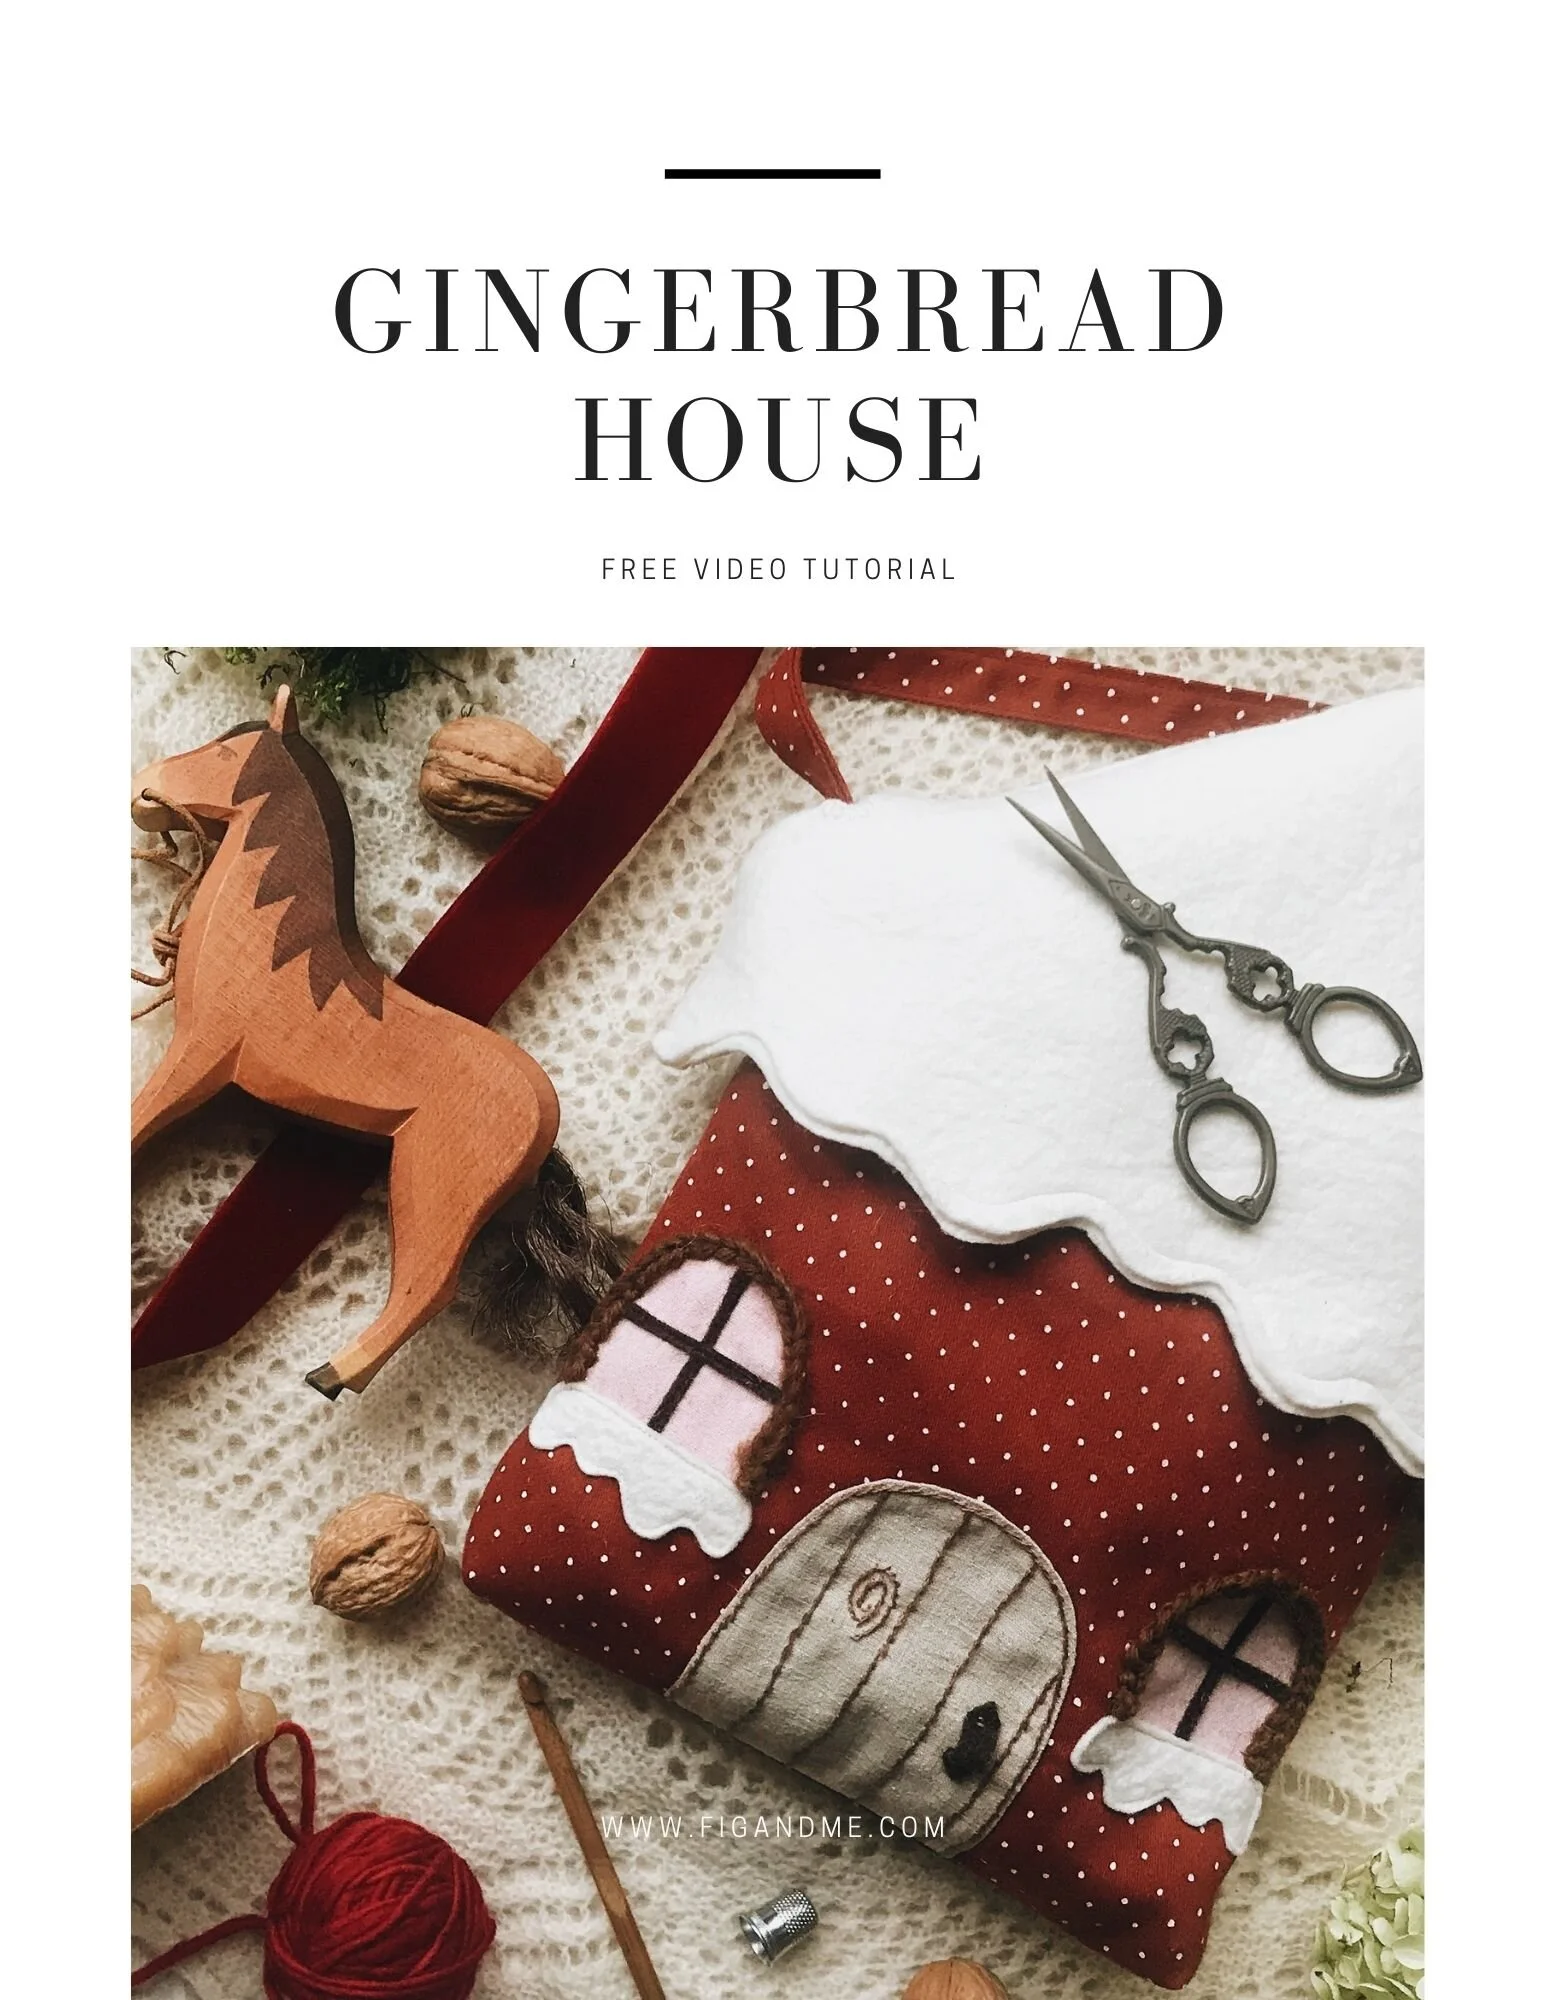
I suggest you use medium-weight fabric, such as a light canvas, pinwale corduroy, a heavier weight linen, fabrics like that, so that the tote has enough body to look like a proper “house”.
If you use very lightweight fabrics, once the dolls are inside, it’s going to end up looking a bit more like a satchel than a cute and sturdy house.
Now, for the roof I am using a double layer of wool blend felt, but for all other felt accents I am using a 100% wool felt.
I purchased the 100% wool felt from The Olive Sparrow, but I have also in the past gotten it from Bear Dance Crafts.
Try to use wool felt when you are doing the little accents, as it just has such a nice feel and it definitely holds much better.
I tackle a few techniques in this tutorial, from paper-piecing techniques, to raw appliqué using fusible web, felt appliqué, embroidery with a few different types of stitches, stuffing, adding hair to the little witch, etc.
I also made a small PDF of all the pattern pieces I used when constructing the gingerbread house. If you are uncertain of drawing your own shapes, feel free to use mine. You can find it over here: Gingerbread House Pattern PDF.
It is my hope this video tutorial motivates you to create little bags for your dolls. They do love to be taken out on walks around the neighbourhood, to the park or in our case, to the lake shore.
The measurements I used were made to fit the little Hansel and Gretel I created via this free doll making series, but you can certainly adapt it if your dolls are smaller or larger. Also, the measurements for the strap were tailored to the little recipient of this bundle of imaginative play: my little niece.
And of course, I had to show you the final project reveal, as I prepared the dolls for travel and added a few extras to them.
It took a little bit over 3 months to create the dolls and everything else and I hope you enjoyed the journey, I know I did.
You can watch the entire series over here, I do recommend you start at the very beginning, where I discuss all the materials I will be using.
You can find the entire series here on my blog and on my YouTube channel.
If you would like to see what other makers have been creating with this series, you can look them up on Instagram. We have been using the hashtag #hanselandgretelwithfigandme and it has been so sweet for me to see what others create.
If you appreciate even an ounce of the effort I put into producing this series, and you manage to either learn something from it or make a little doll or two, please use it in your photos, so that I and others can see it.
It really makes my day and it fuels my doll making fire so that I can keep creating beautiful content for you all. It is but a small way for me to give back to the doll making community.
I have already received such beautiful emails and words regarding all the techniques I shared and the energy I put into making it easy and peaceful to watch, so thank you for letting me know.
It seemed this series has been a calm influence in your life, at a time when we all needed a little bit more of that. I am glad to be doing my part to imbue the world with more doll play and mindfulness in your creative pursuits.
Thank you so much for watching me create these little dolls and if you do make something from this series, don’t be shy! post it for all of us to see.
I am not sure if I am going to manage to publish another post before the year is over, but if I don’t, I want to wish you a lovely end of the year. It has been incredibly hard on us, more on some than others. My wish is that you keep your spirits up and that you take deep breaths. The rest we can figure out.
Yours truly, as always, in wool.
Fabs


