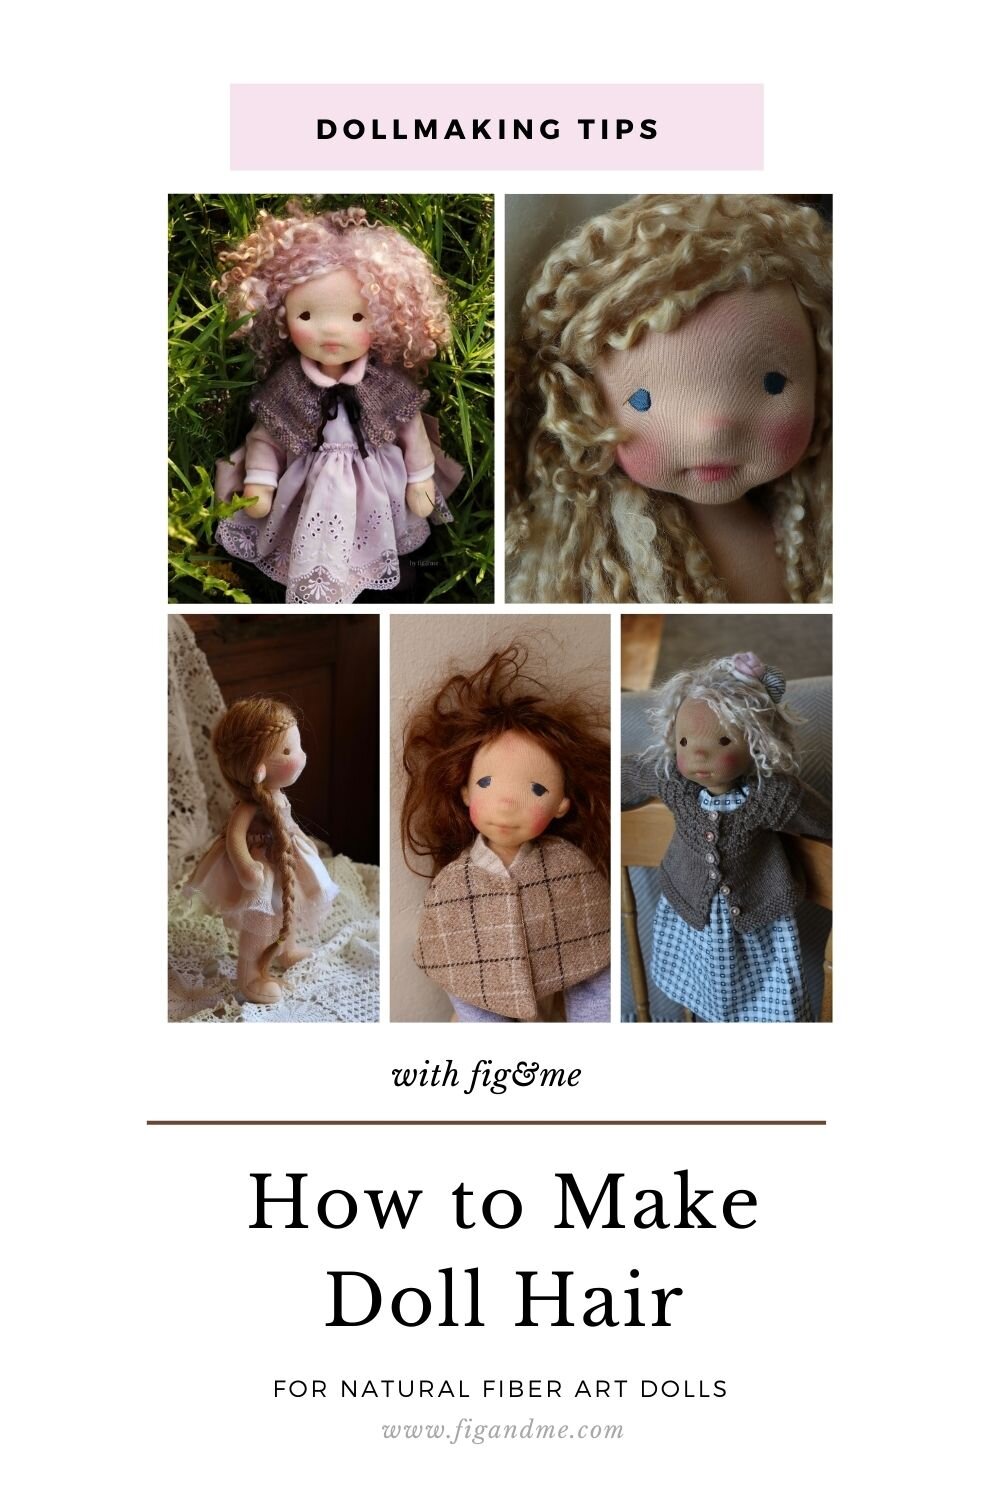
Dollmaking tips: How to stuff waldorf dolls with the rolling wool technique.
When you are learning how to make dolls, stuffing them becomes a steep learning curve. If you are working with wool stuffing, then the difficulty increases, as wool behaves quite differently than other materials.
Today I will give you some hints and tips on how to best work with wool in order to achieve those super smooth and firmly stuffed doll's limbs.
What will I need?
When working with wool batting or roving to stuff your dolls with, you are confronted with two things: the “stickyness” of your wool, and how clean it is.
Believe me, I have tried many different types of wool for stuffing and I am big fan of the quilting quality produced by Custom Woollen Mills in Alberta, Canada.
If you are new to using wool as a stuffing material and would like to learn more, please head over here so you can check out a handy list of suppliers, tools and most importantly, all the different techniques you can use to stuff dolls or toys with wool.
If you want to learn a little bit more about waldorf dolls and why they are stuffed with wool you can check out this post: Starting your dollmaking adventure.
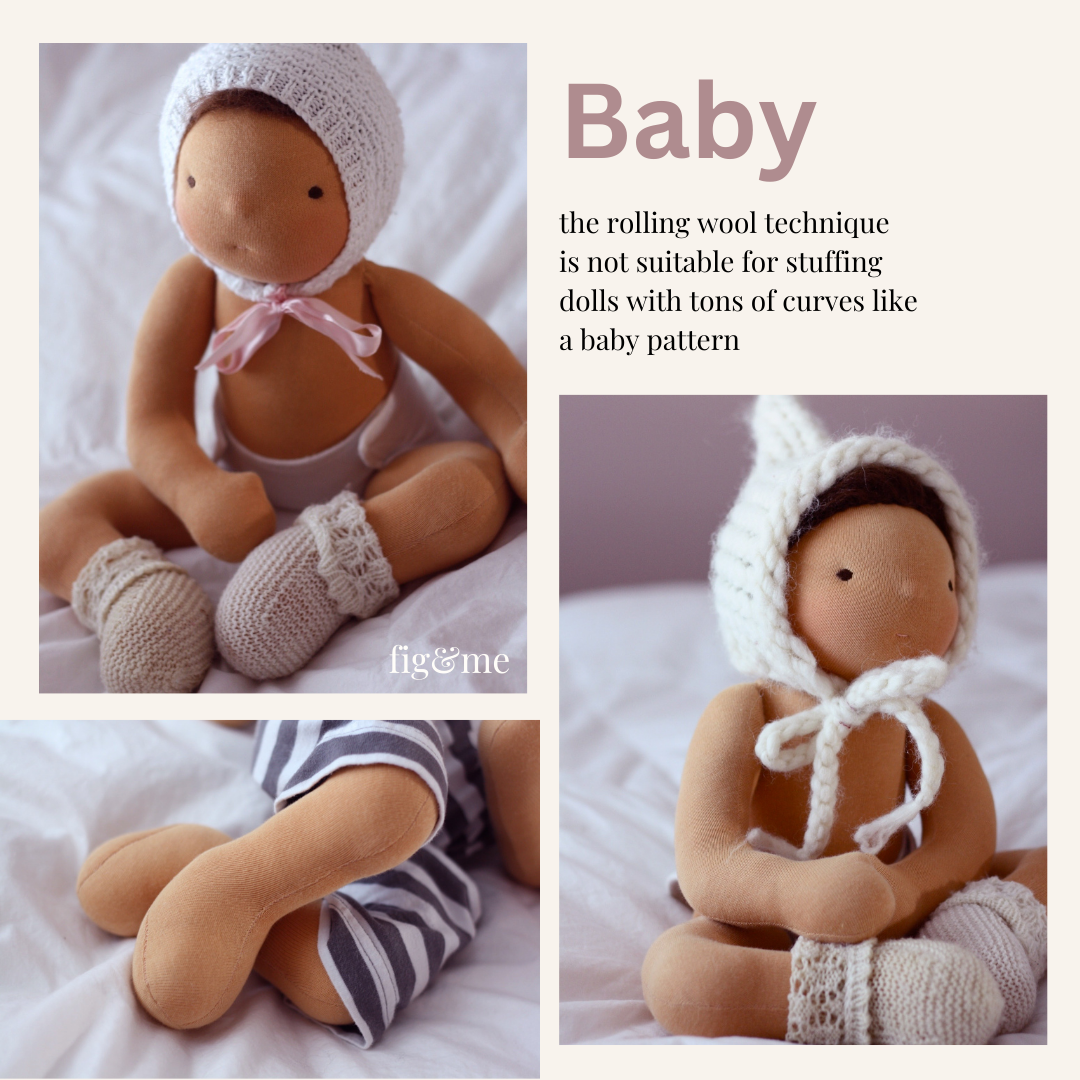
Word of caution: the rolling wool technique is not advisable to stuff dolls with a ton of curves in their pattern, like a baby doll for example. You are best to use long strips or small tufts of wool to stuff all those nook and crannies.
If you want detailed instructions on how to stuff a baby doll pattern, I recommend this:
1. Wool Batting
Now, For the purpose of explaining the “rolling wool” method, I will assume you are using wool batting.
‘Batting’ means the wool comes to you in big sheets, instead of a super thick chunk that looks more like un-spun yarn, which is called roving.
It would be quite hard to roll roving with a tool, I’m sure it can be done, but I have never used it for this purpose so we will let that go.
Some sellers provide “wool stuffing” which is not the same as “wool batting”, so just be mindful of what you are purchasing in order to roll the wool successfully.
2. Rolling tool
Now, on top of using wool batting, you are going to need a rolling tool. Tools can vary greatly, and it depends on your technique and what you feel most comfortable with.
What I use is a custom-made tool my husband made for me. I have them in different lengths, depending on the length of the doll’s legs or arms I am set to stuff.
My husband was offering this tool for sale but at the moment I am sold out but hope to provide some again soon.
You can purchase a similar tool like mine in the market, but those are made with chopsticks which are way more fragile than mine and you can't make super thick/firm rolls for larger dolls, but you can use them very easily for smaller dolls.
I’ve also seen some made of metal and since I’ve never tried rolling wool with such tools I cannot vouch for their efficiency.
Instruction
Let's start with prepping our wool batting and cutting it to size.
Step 1.
1. Once you open your big roll of batting and unfold it, you are going to cut it to the full length of your doll’s leg or arm.
If you are stuffing a doll leg that is about 8” in height, and your roll comes in a width of let’s say 48” unfolded, you will be cutting strips of batting that are 8” by 48”.
2. Once you have this very wide strip, you are going to try to split it into thinner versions of itself, since usually batting is like a sandwich of several wooly layers.
Don’t go extremely thin, my batting can usually be split two or three times at the most. This is for the purpose of working with thinner layers (think of the layers in puff pastry, except that instead of folding the “dough” you will be “rolling” it onto itself).
3. Once you have two or three layers of thin wool, in the measurements you will be working with, you grab your tool and you start. Obviously your tool needs to be at least as long as the length of the doll leg or arm you are going to stuff.
Step 2.
1. Starting on the 8” side of your wool batting, you will begin by slowly rolling the wool onto the stuffing tool.
This can be a little problematic at the beginning, just so that the wool starts grabbing onto itself. Don't despair, it’s just the way it is. It takes the wool a wee bit to get acquainted with itself and to start sticking to itself and forming a roll.
Once you get it going, keep rolling the wool evenly and gently, pulling (to create a little stretch in the wool) with one hand or arm, and using the other to turn the stuffing tool and keep rolling the wool.
You are basically making like a fat cigar-shaped roll…or a burrito…or a rolag. Whatever analogy serves you better.
Step 3.
1. Once you finish your first sheet of wool, you are going to twist it or torque it more onto the tool, until it becomes all evenly compacted. This is THE most important part of rolling wool.
The whole roll has to be so firm that you can’t twist it anymore.
2. Try to do this as even as possible, so that there are no thin layers and super fat ones over the tool; also try to avoid thick lumps on the outside layer of the wool roll.
3. If you are stuffing a very small doll, check the circumference of the roll of wool on the tool, an try to see if it’s an approximation to the thickness you are going for with your doll. If it’s a go, then you can head straight to step 5, if not, you continue to step 4.
Step 4.
1. Once you have a super compacted first layer of wool, then you grab another sheet of your prepared cut batting, and you roll a second layer.
2. This gets easier as you go because you already have a very firm roll of wool on the tool, and the new wool grabs onto that like nobody’s business.
You can roll the entire thing, if that is the circumference you are trying to achieve. It takes a little bit of experimenting to gauge how much rolled wool, i.e. how fat the rolls have to be, in order to stuff your doll’s leg or arm properly.
3. Measure as you go, even try to sneak it in the sewn pattern piece, to see wether you still need to fatten those legs or you are good to go.
4. Continue this process until you achieve your ideal thickness, smooth out as much as possible the outside layer, as this is the one that will be in contact with the cotton fabric, and the one that will show the most how crazy good you rocked this.
Step 5.
1. You are now going to grab, let’s say the leg pattern piece. I stuff the foot first of course, using small strips of wool (not rolled), and then I roll the wool for the leg.
2. I grab my stuffed-foot + empty-leg pattern piece and by holding onto the tool for dear life, I slide it inside the leg.
3. I try to push it as far as it will go (the heel) and then we will start compressing the rest of the wool inside the leg.
Do not pull the tool straight out just yet.
Step 6.
1. Since you compacted the wool as you were rolling it, it will be very silly to try to just sneak the tool right out.
You need to unwind it a little bit, while holding the leg and wool roll firmly. This sounds harder than it is, intuitively your hands will feel how to unwind the tool just a little, and then pull up just a wee bit of the tool out.
2. I say just a wee bit, because you are going to use the empty space now left at the bottom of the leg, by taking the tool out, to re-stuff it with the inside part of the wool roll you made.
You achieve this by pushing wool from the inner sides down. You do this little by little.
If you sneak the whole tool out, you will have a hole down the center of the entire leg, which with time it will compact even more and your doll is going to look like she is not filling her legs or arms anymore. Not very good 🤓.
You need to slowly push wool from the inside down, to gently keep filling the space left by the tool as you move your way out of the leg.
Easy does it. Take a bit of the tool out, push wool down.
Step 7.
1. Once you get to about the knee area or thigh, it gets very cumbersome to work with the long tool, so I take the tool out.
2. I then grab my hemostats and use those to push the remaining wool down, or to grab small bits of wool from my batting and stuff them inside until I completely and utterly fill the hole left by the tool.
If you do this, the legs will feel almost ‘rock hard’. I stuff almost rock hard to begin with, especially the legs and arms.
Even though we are rolling layer upon layer of wool, and compacting it as much as we can from the get go, the wool will still compact even more with play, snuggles and time.
Dolls that I stuffed extremely hard a mere year ago, are still feeling very firm but no longer rock hard.
Now think of ten years down the line, a few washings, and lots of dressing and undressing and standing of the doll. You want it as firm as you can get it.
And that's that. Once you get to the top of your arm or leg, there is no more stuffing to do. Only sewing. Good luck!
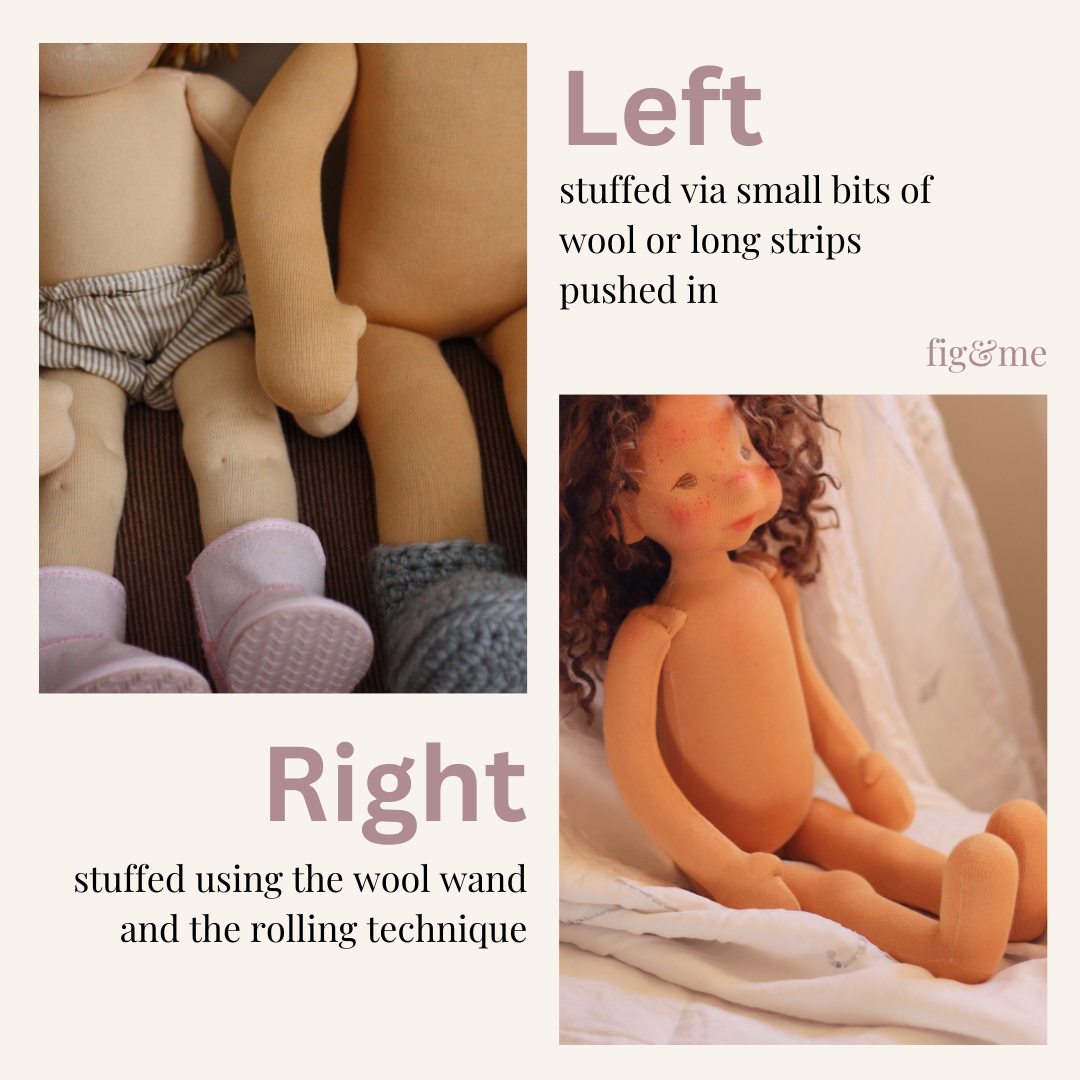
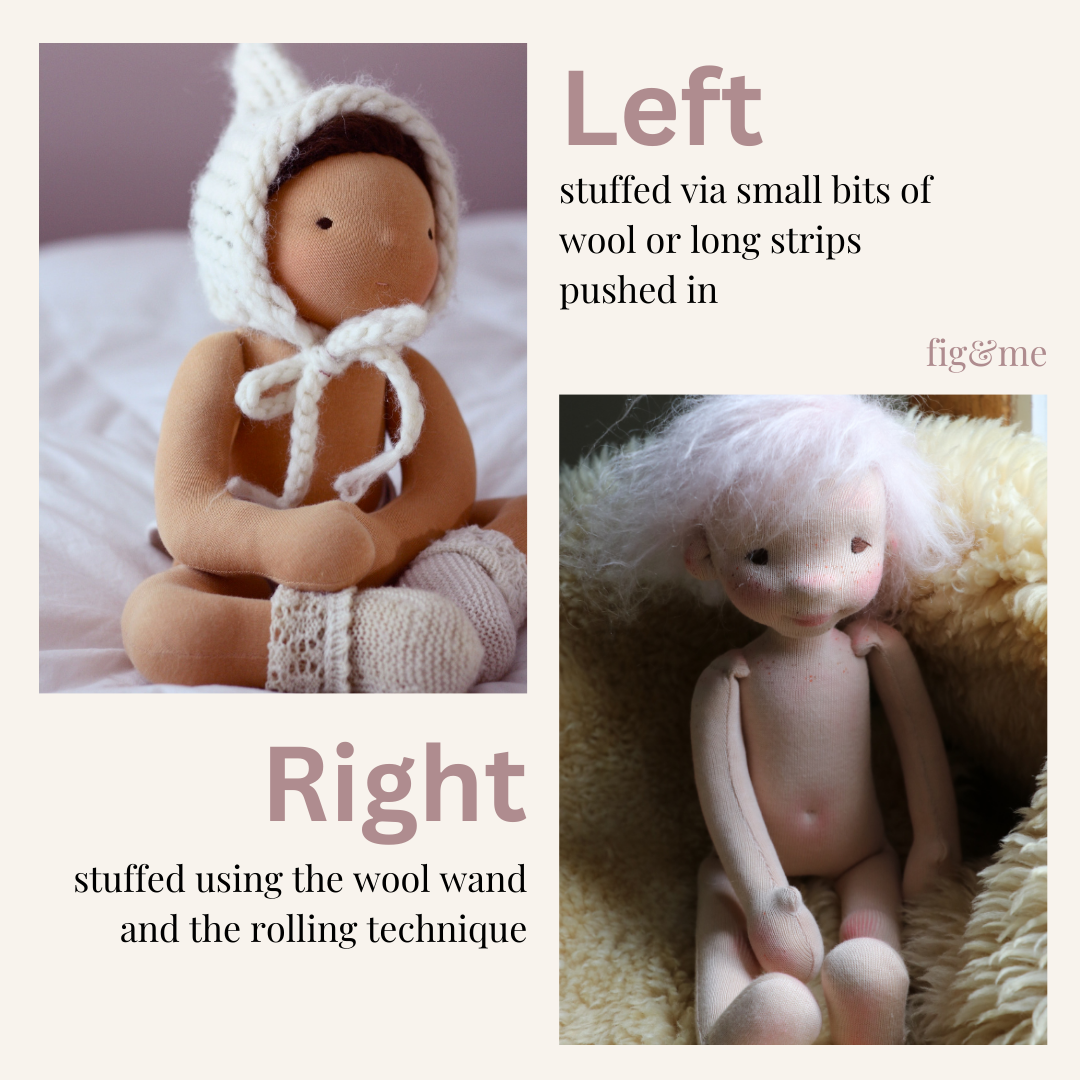
In the photo below you can see a small comparison of how the stuffing looks like via the different techniques.
While all dolls are cute and snuggly, the one stuffed with rolled wool has smoother limbs and has retained her shape more accurately. While the other two feel much softer and get a big ‘chinkier’ as you stuff them.
I hope you feel encouraged to try this technique and see wether it suits you and your dolls.
I know this made a huge difference for me, not just on the appearance of my dolls, but on how they feel in your hands.
Since the legs are so firm, the doll stands very securely, which I love because I like to take photos of the dolls outside and I need them to have strong ‘muscles’ for long photo-shoot sessions, but I also feed them lots of treats so they are agreeable during the whole procedure!
If you have questions or some aspects are not extremely clear for you, please feel free to ask a question in the comments.
In the mean time, I wish you all the luck in the world trying this technique with your own doll making. Let me know how you get along.
This technique has been detailed in this doll tutorial, so perhaps you can also check it out and make yourself a sweet doll in the process: