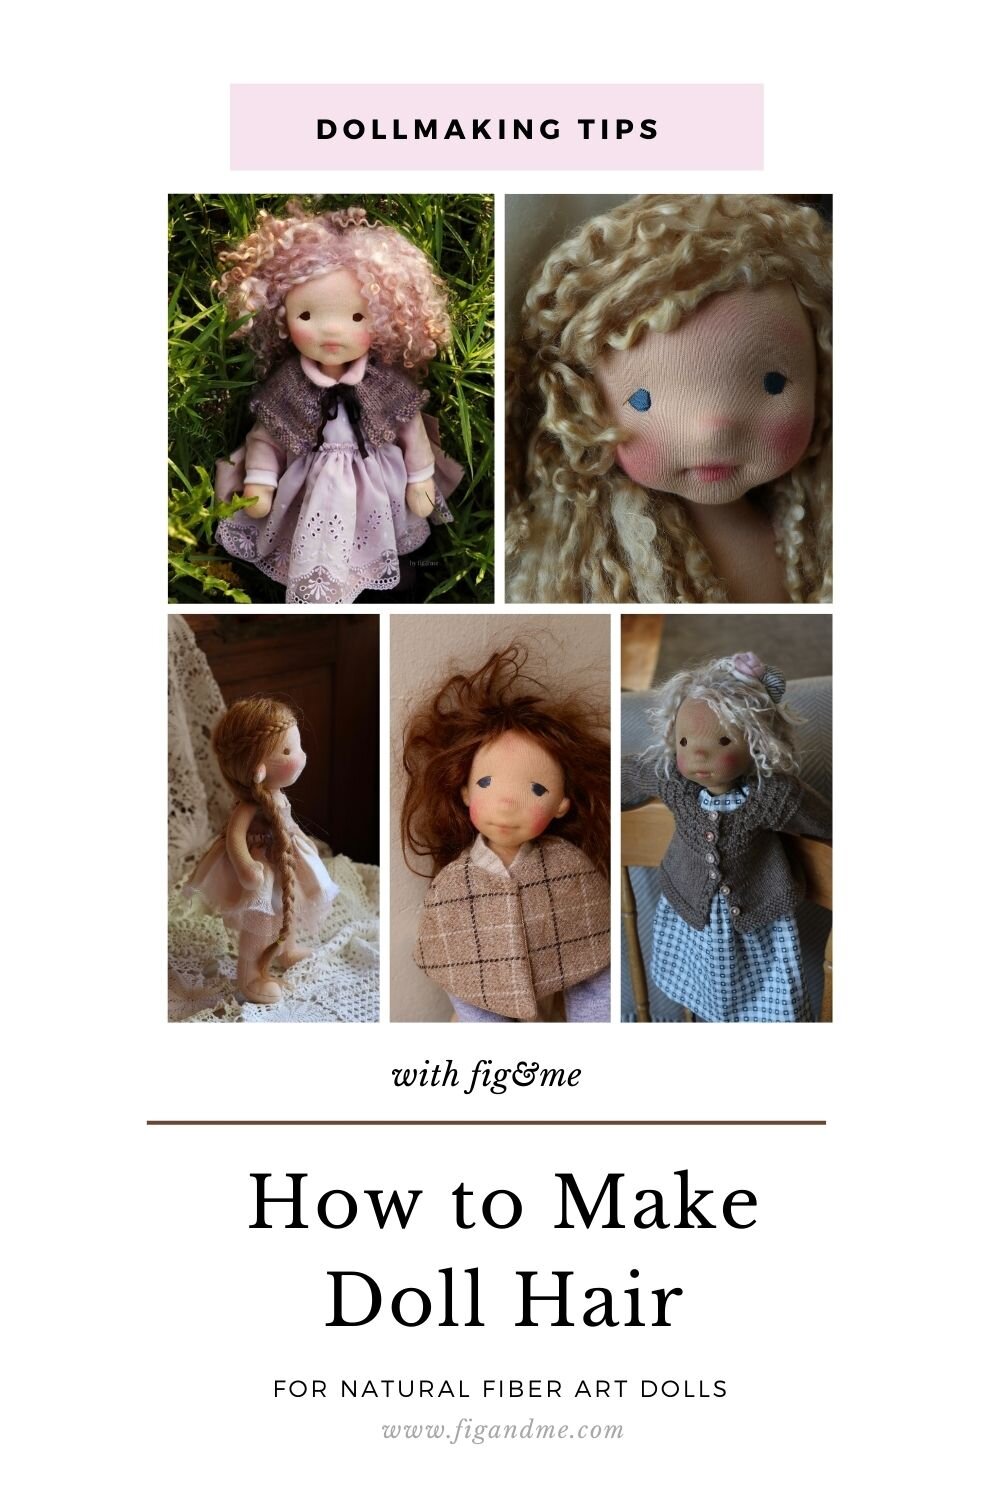
How to Embroider Doll Eyes, a mini tutorial.
I recently received this question via email, and the interested doll maker was asking wether I “pad” my doll’s eyes or not. So I thought it a good idea to bring yet another of my lengthy posts but this time on doll’s eyes, with specific emphasis on embroidered ones.
There is a big difference between embroidering woven fabric, held taut by a hoop, or something with a lot of stiffness (like haida fabric), than embroidering a doll face, which has been sculpted.
You are embroidering on a three dimensional object and there are pros and cons about it. You don't even have to embroider them if that really freaks you out.
Doll’s eyes can really be made out of many things, not just embroidery. You can use buttons, felt, embroider them separately and then sew them on, use beads (large or small ones), or even use glass eyes.
I love using embroidery to do my dolls’ eyes because I feel they keep the dolls in a very “timeless” phase: simple (to a degree), innocent and child-like.
Of course that over the years my dolls have evolved a lot, there are certain shapes I did over and over during a year, only to not use much more. There are certain eye shapes I have never made again (because the doll in question requested I ever only used them on her), and there are some that are still challenging me.
“The eyes are the window to the soul” and I feel like there is some truth in that. As soon as my doll has eyes, I feel a deeper connection with her/him and I can work much faster, or should I say with a more steady heart.
The way I do it.
So, let me start by saying that there are so many ways of doing this, my way is not the best, is just the way I have evolved doing the doll’s eyes, the way I currently do it just because that’s how I like it.
You might discover a different technique, that not only suits your dolls’ personality but also your skills and preference; don't get fixated on a specific way of somebody else to do something. If it speaks to you, proceed. If not, move on. You will discover your style of doing things soon enough.
1. Placement
I start by deciding the exact placement I want for the eyes. This might be newsflash to you but this simple thing is VERY hard.
I spend a good 10 to 20 minutes moving pins around the face until I feel exactly content with the place they find. Of course there is a general area that the eyes SHOULD be, but within that area you will find there is a lot of room to play, even if we are talking about mere mili-meters.
You can look at this page, which shows you how different the eye placement is depending on the human age. Since dolls are made to represent humans (unless you are making trolls), you should give strong consideration to where your doll’s eyes should be.
If you are making a baby doll for example, the facial proportions are quite different than if you are making a doll that is supposed to be 5 or 7 years old.
Even though you might not realize this at the beginning, we can “sense” when a doll is off-kilter, if her facial proportions correspond to a much older child, but she has the body of a baby or a toddler. But as long as you get the general area right, there is no need to deeply ponder.
Just move the eyes around until you are satisfied with the way the doll looks at you, and proceed to measure.
Once I’ve decided the exact placement of the eyes, I place a sewing pin in the middle of the face, and measure with a sewing gauge to the right or left eye, making sure both eyes are at equal distance from the centre of the face (usually just above the nose is where I place this pin).
Once that harrowing nightmare is over I proceed to mark the eyes.
2. Marking
I usually draw my eyes. It is a very odd day when I don’t, but it has happened. I have a few “eye templates” somewhere in my studio and I use those to mark the shape of the eye.
This gives me an idea of the eye shape to shoot for. I say “shoot for” because once I start to embroider all hell breaks lose and stuff happens, i.e. the doll changes her mind halfway and the eyes end up different…not by much but certainly different.
The template can be anything from a wee piece of paper (only one, I mirror it to the other eye, instead of having one for each); a cut out piece of thick plastic or a chunk of felt. It really can be anything, I’ve used cardboard too.
I lose the templates all the time, or they become too wonky after several dolls, but that’s OK because I like to live dangerously and always move forward.
I’ve also just used a large pin head, drawn around it, and then created a shape by counting threads on the jersey, like I said, I am not very dogmatic. (If you scroll down to the comments, someone suggested to us the use of a sequin since it already has a hole in the centre. Brilliant Luci, thank you for sharing!).
I always use a fabric marker with disappearing ink. Make sure to test yours first!. I have heard some nightmarish stories regarding markings that come back to life, or never fade. Try them on the back of your doll's head first to be super sure.
3. Make an Eye Socket
Once the eye placement and shape has been decided, I sink the eye sockets by making an indent the centre of my eye drawing, just to give more life to the doll’s face.
You do this by taking a little stitch to the centre of your eye drawing drawn or shape, but instead of the threads hanging to the front, you bring them to the back of the head with a long dollmaking needle, and then pull them and tie them to secure the indentation.
This creates a little dimple over which I will embroider, and basically creates the "eye socket", which gives the doll a more sculpted quality, and a bit more dimension to her/his face.
4. Weave and Embroidery
Since now you have a little “crater”, it becomes necessary to weave a little to support your embroidery.
I start with vertical stitches, making sure I don't distort the fabric by making rather lose stitches. Then I make horizontal, then vertical again. This becomes a bit of a net that will support the satin stitch with which I create the real shape of my doll's eye.
Once I have done the weaving on one eye, I leave that needle resting and thread a second needle with more thread and do the same procedure on the other eye. Now I have two needles with which to embroider.
Using satin stitch I embroider both eyes at the same time, counting how many threads I am going to either side, or for every stitch, to try and keep both eyes as symmetrical as possible (which never happens, but I do try my best).
When I am embroidering the eyes, I always go a little bit outside my initial drawing in order to cover it. Like I mentioned, I use disappearing marker but I want to make sure I cover it as much as possible before it fades away.
Once I am done with the embroidery, I always bring the threads to the top of the head and secure them. I use a regular embroidery needle to make the eyes, but then change to a long doll making needle to bring threads to the back.
I use two threads for the eyes, and three for any other embroidery or sculpting. I have done eyes with just one thread, and they look lovely but I reserve it only for when I am feeling particularly saint-like.
When I make a stitch, I smooth the thread just secured with my fingers and I never pull hard; I go very slowly for every single stitch, to ensure both threads are lying as flat as possible and the eyes won’t look like a hot mess.
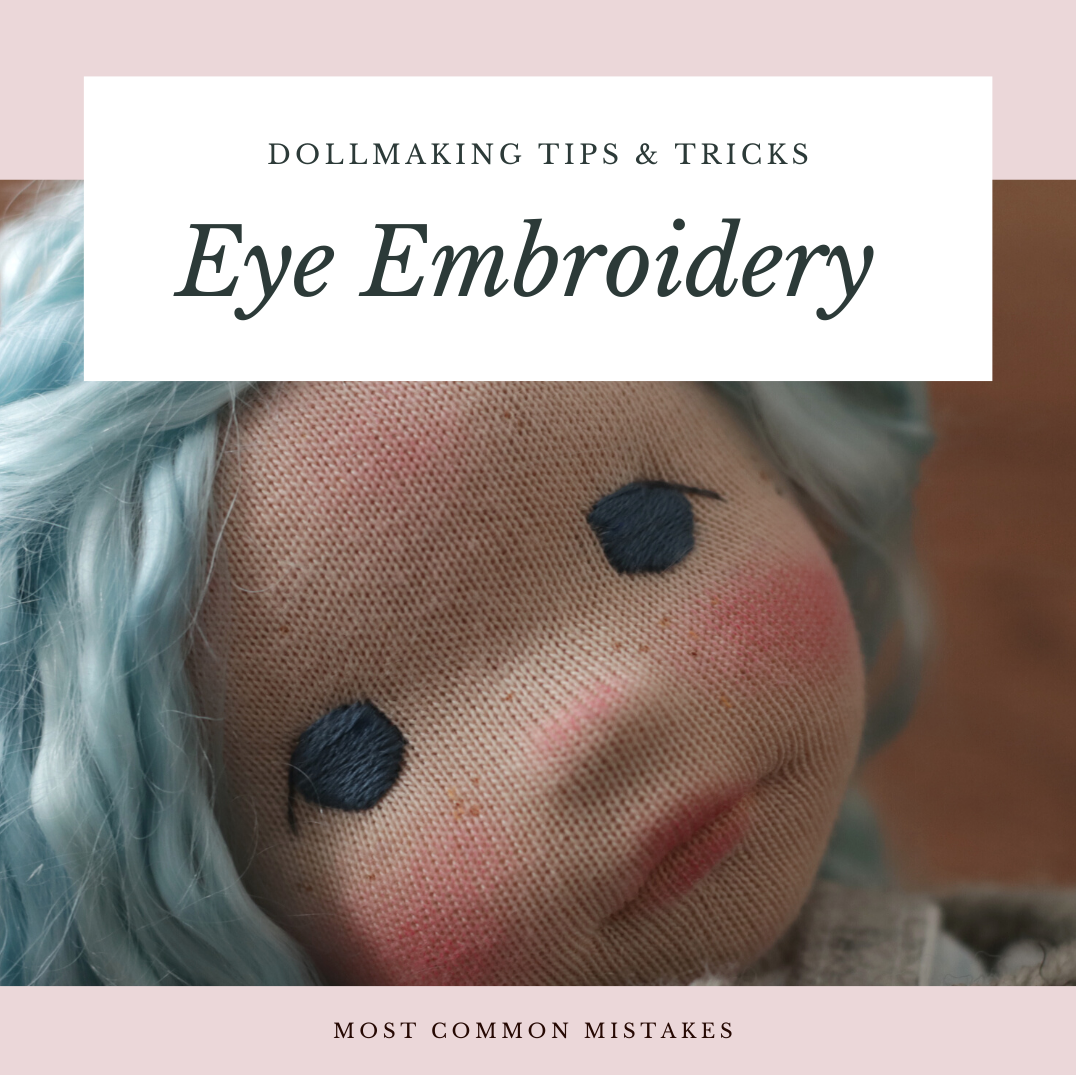
I have done a lot with my doll’s eyes, except I don’t really do ‘realistic’ eyes (a dark centre, with an iris and then white to the sides). They just don’t go with my doll’s faces, which even though sculpted they are still simple and leave a lot to the imagination. I do a solid colour for the eye and then change colour for the wee eyelash.
There are people who embroider their eyes over padding, which I have also done, but reserve it for mishaps, when there is need to completely cover an eye but I don't want to ruin the fabric by pulling the threads out. It’s just “safer” for me to pad the area with a little piece of felt and then embroider over it. Other times I have just done the padded embroidery to make the eyes look fuller.
So there you have it. A mini tutorial on how to embroider dolls’ eyes. I hope this answer some of your questions, but let me end this with the following: practice, practice, practice.
It really makes up to you over time, your hands get used to the feel of the thread as you are embroidering and you become “slightly” more comfortable with the process.
Try the simplest shape, get used to doing it, recognize the process, and then maybe if you feel you are up for a challenge, make something slightly more complicated. Start simple and then grow from there.
I have a couple more articles and tutorials to help you with doll eye embroidery, please check this out:
1. My most recent (2025) article on Doll Eye Embroidery, via Patreon
2. Most Common Mistakes when Embroidering Doll Eyes, via the Tips & Tricks column on Patreon.
I hope you found this info helpful and that the images help you see there is no hocus pocus or anything too fancy. Just guts, experience and imagination.
Do read the comments if you still have more questions, I have answered quite a few over the time this post was published. If yours is not there, ask away! I am always happy to help.
And if you have a good tip to give us all, don't be shy and share it. That's the only way we all move forward.