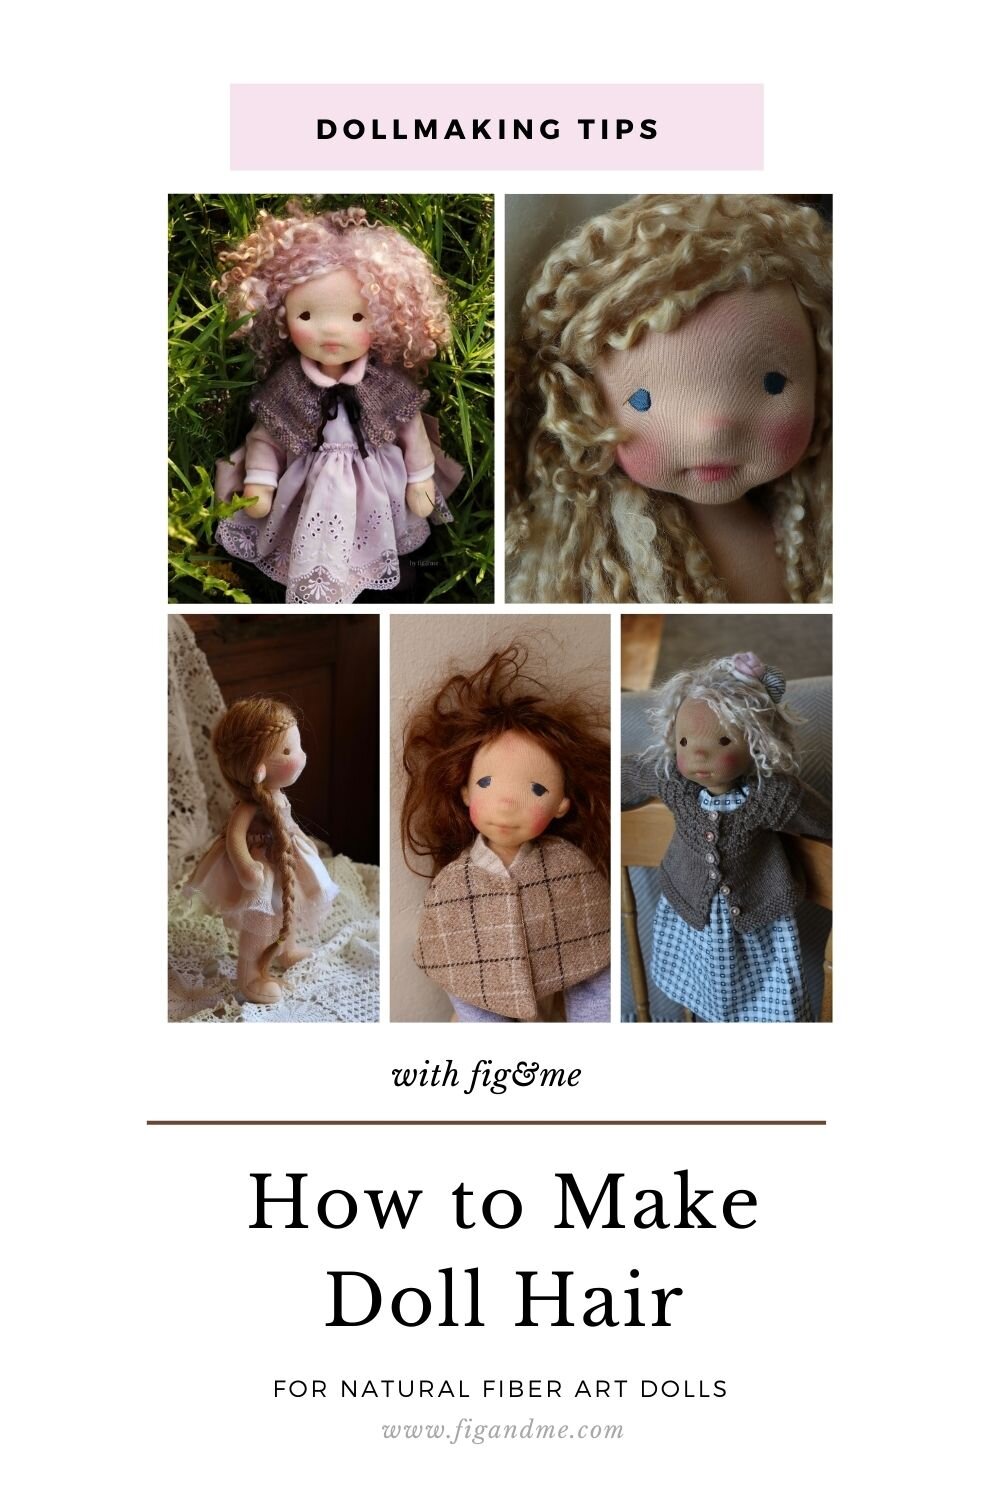
Doll Making Materials and Tools for Natural Fiber Art Dolls
As Part 2 of the very popular “Starting your Doll making Adventure”, I have been meaning to bring you a comprehensive list of all the materials that you will possibly need in order to create “wadorf-inspired” dolls or “natural fiber art dolls", with the thought in mind that this will allow you to gather and secure everything you need to dive deep into this journey.
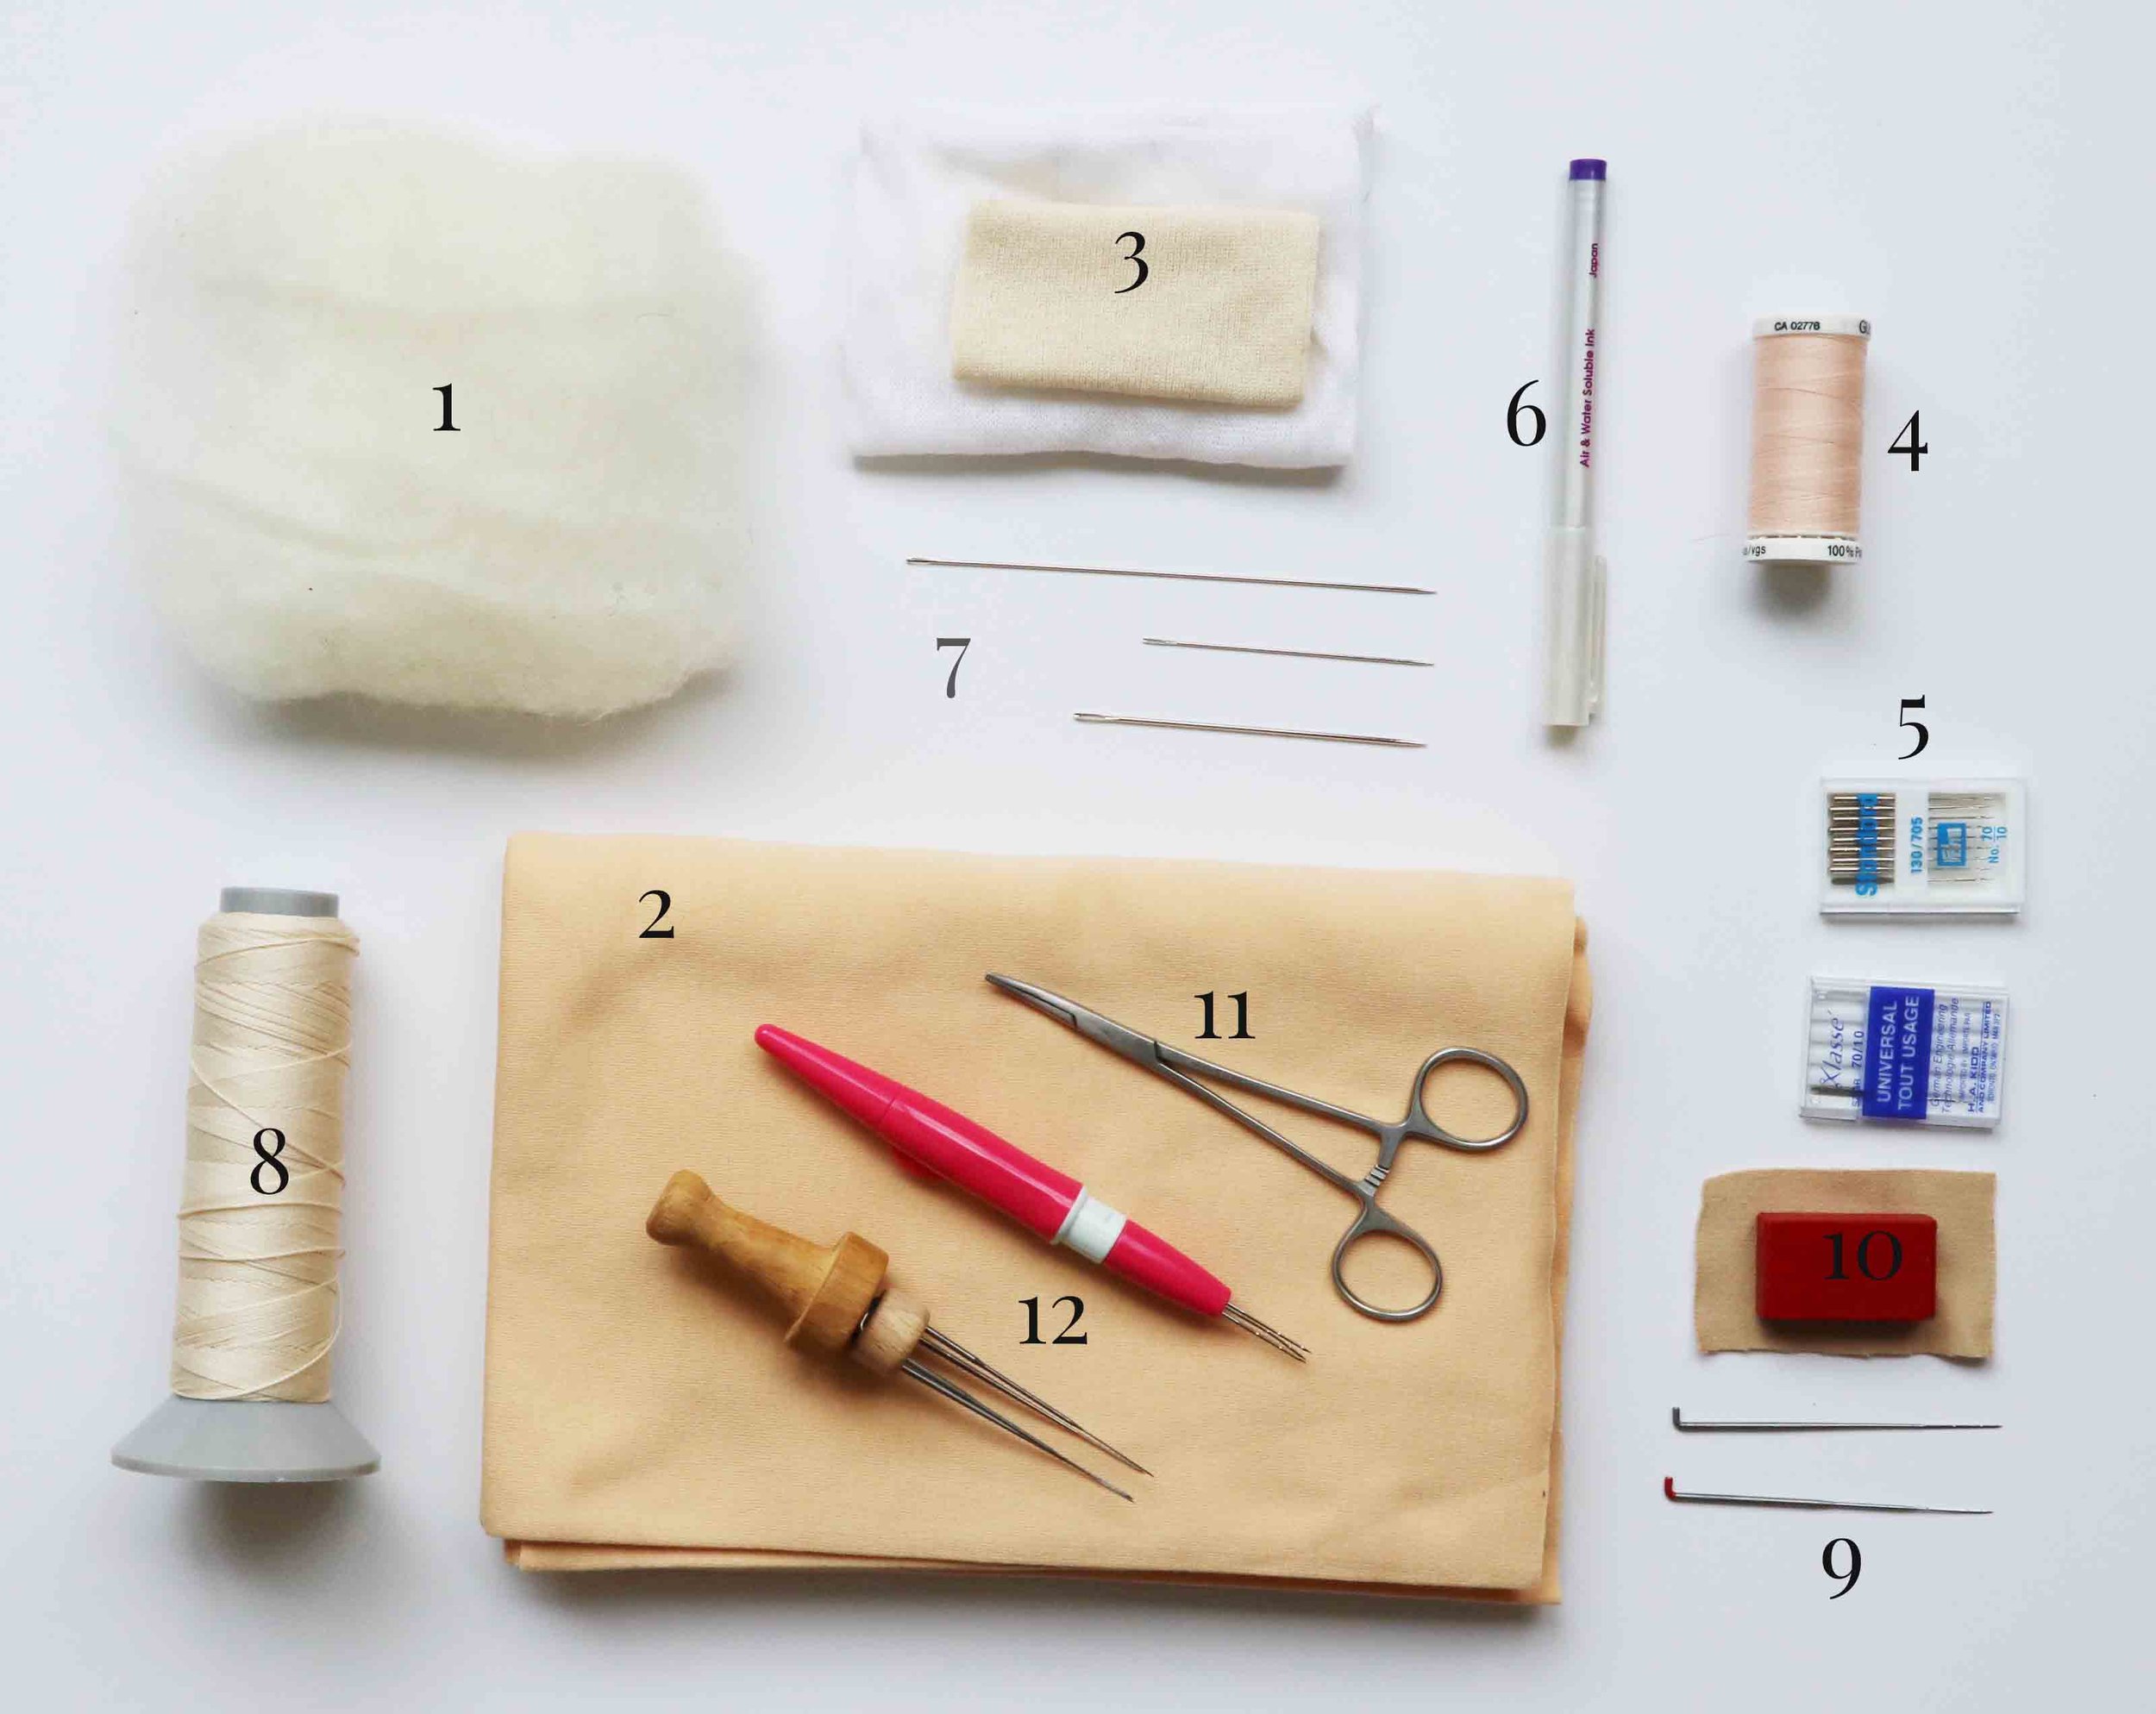
A comprenhensive list of tools and materials for natural fiber art dollmaking. via Fig and Me
Doll Making Tools and Materials
Wool Batting
Doll skin fabric
Inner head: tubular gauze or stockinette
Sewing thread
Machine sewing needles
Disappearing ink pen
Doll making long needles
Craft thread
Felting needles
Red beeswax
Hemostats
Felting multi-tools
Videos
If you’d like to see the materials being handled and in action, please visit my Youtube channel where you can see a little video I made talking about the majority of the dollmaking supplies I use regularly: What I Use To Make My Art Dolls, Dollmaking Materials.
If you want to see another video where I talk about my favourite tools for dollmakers, you can find that one over here: My Favourite Tools To Make Natural Fiber Art Dolls.
Now, the above would somewhat be the basics, plus embroidery threads, embroidery needles, matching sewing thread for the hair, stuffing tools of some kind, etc. As you can tell, the list is very long. Today I will tackle some of the main components or ingredients so you can better ascertain which ones are missing from your doll making studio. This is not an exhaustive list but it is very complete.
I’ve also published a video now where I show you most of the materials I am currently using to create natural fiber art dolls. You can watch it here: What I Use To Make My Art Dolls.
Let’s dive right in!

Wool Batting to stuff your natural fiber art doll, via Fig and Me.
1. Wool Batting
Waldorf dolls, waldorf-inspired dolls and natural fiber art dolls are all stuffed or sculpted with natural wool. If you want to read a lengthy post into the many qualities of the material and WHY we choose it, you can head over here where I talk about wool and where to source it.
Now moving on, I use wool batting to both stuff the doll and form the head. I do not use roving. Batting comes in a big roll and once spread out is a very large sheet. Roving almost looks like a very fat “yarn” and can come in skeins or balls. Some dollmakers love using roving for the beginning stages of their doll’s head but I don’t. I only use batting. The one I buy and love is produced by Custom Woollen Mills, and is the “Quilting Batting” quality. Never use wool batting that is intended for other purposes, like insulation.
The qualities to look for are: uniform batting, several layers of even wool, cleanliness and a nice sheepy smell. As you work with the batting it is important that you inspect it for foreign material (like pieces of debris/plants or broken carding needles from the processing).

To form the head we use tubular gauze or stockinette. List of Dollmaking materials via Fig and Me.
2. Inner-head material
If you are forming the traditional head, using a sock-like material and then tying it into shape, then you will need either Tubular gauze or Stockinette. They both come in many different widths to accomodate anything from very small doll heads to very large ones. I normally use the tubular gauze more than I use stockinette. Tubular gauze is certainly thinner so sometimes, for larger heads, I like to double it.
Stockinette is a bit more hefty and sometimes you can see the ribbing of the stockinette under the skin fabric, so that’s why sometimes I shy away from it. But I have used it before and it’s a very nice material to work with. I like to shape inner bodies for floppier dolls with the help of stockinette.

Doll skin fabric options, via Fig and Me
3. Doll skin fabric
Now, there are several brands you can turn to for doll skin fabric. The most common ones are manufactured by Laib Yala and by De Witte Engel. If you would like to read a post on the differences of each and how they both look once stuffed, head to this post where I share a guide to doll skin fabric.

Doll skin fabric options, via Fig and Me.
Laib Yala fabric comes both in interlock and jersey. I use the jersey (heavy weight) almost exclusively. I use it for both the face and the body, as I don’t like to see the noticeable difference between the weights of the fabric within the same doll.
I recommend the heavy-weight Laib Yala jersey for dolls 14” and taller. For smaller dolls I recommend the light-weight jersey or the interlock.

Doll skin fabric options, via Fig and Me.
De Witte Engel skin fabric comes in interlock. This means both sides of the fabric are the same. It is a very sturdy fabric as well and I use it from tiny dolls to very large dolls. I do prefer my very large dolls (22” and above) to be made with Laib Yala heavy-weight jersey instead, but this is only a preference. There is nothing wrong with DWE for large dolls.

Sewing machine needles recommended to sew natural fiber art dolls, via Fig and Me.
4. Sewing machine needles
To sew both the cotton jersey or interlock needed for the doll, I use either Universal or Ballpoint needles in a very small gauge. I have never had any issue with these needles, like creating holes in the fabric, but I change them very regularly.
To sew the body pattern, I first trace the sewing lines, then sew, then cut, leaving a seam allowance all around. Since the fabric is a knit I prefer to do it this way. I usually do two rounds of sewing, always using straight stitch. The seams are spaced an 1/8” in between. I don’t use zig zag (lightning stitch), stretch stitch (triple stitch) or anything else. Always straight stitch when sewing dolls bodies for me.

Tracing tools for doll making, via Fig and Me
5. Tracing tools
To trace the body pattern onto the wrong side of the fabric you can use many different tools, I like to use a soft-lead pencil. But to draw eyes, ear placement, features over the wool head, etc I like to use a disappearing-ink marker. I like to use the ones that come with a little felt-tip eraser on one side, so once I am done with the particular feature, I can erase any markings left behind. Always test your markers and their properties before you use them on a doll’s face or body.
For sewing doll clothes I like to use tailor’s chalk in different colours or these new-to-me ones that are rather waxy (yellow and white pictured above). They work wonders on woollen fabrics and felt.

Sewing threads for sewing dolls, via Fig and me
6. Sewing thread
For sewing on the machine and by hand I prefer to use 100% polyester thread, as it breaks way less often and makes extremely strong seams. But sometimes I also use 100% cotton, most often when sewing doll clothing.
You will need sewing threads in matching colour to the skin tone you are using but also to sew doll hair, so it fares better to have an array of natural colours to play with.
You will also use many different colours when sewing doll clothing but don’t worry. Buy the colours that you need when you need them and little by little you will grow a suitable collection of threads to come to your aid when sewing doll clothing.

Sewing needles to make dolls, via Fig and me
7. Sewing needles
For sewing by hand, for embroidering, etc. you will need a variety of needles. I mostly use the Doll Sculpting needles with cloth dolls (the rag style ones, like my Cloth Figs) and use both short and long embroidery needles, and sharps in many different sizes.
Some doll body parts are better sewn with strong, longer needles and some parts of the process like sewing doll necks, it’s very fiddly to do with long needles so you do better with a shorter and thinner needle. As you start working, your hands will be able to guide you into what feels best for them as you sew.

Measuring tools to make dolls, via Fig and Me
8. Measuring tools
For all my classes and workshops I always recommend my students to bring a sewing gauge. This is really helpful when your eyes are deceiving you into thinking that one embroidered doll eye is smaller than the other one, as you can set the gauge to the width or length of the eye and compare. They are one of my favourite tools and I use them to mark the placement of the eyes mostly and when I am embroidering the eyes too. I also use them a lot when I am placing buttons, measuring collars, etc.
Obviously the use of a measuring tape is also necessary. You will need to measure head circumference, legs, arms, wool batting, etc. Over time measuring tapes stretch, since most are made of plastic, and so you will have to replace them unfortunately. So keep this in mind and every now and then measure the tape against a plastic or wooden ruler so you can see if it has become over-stretched and no longer trusted to give you fair measurements.
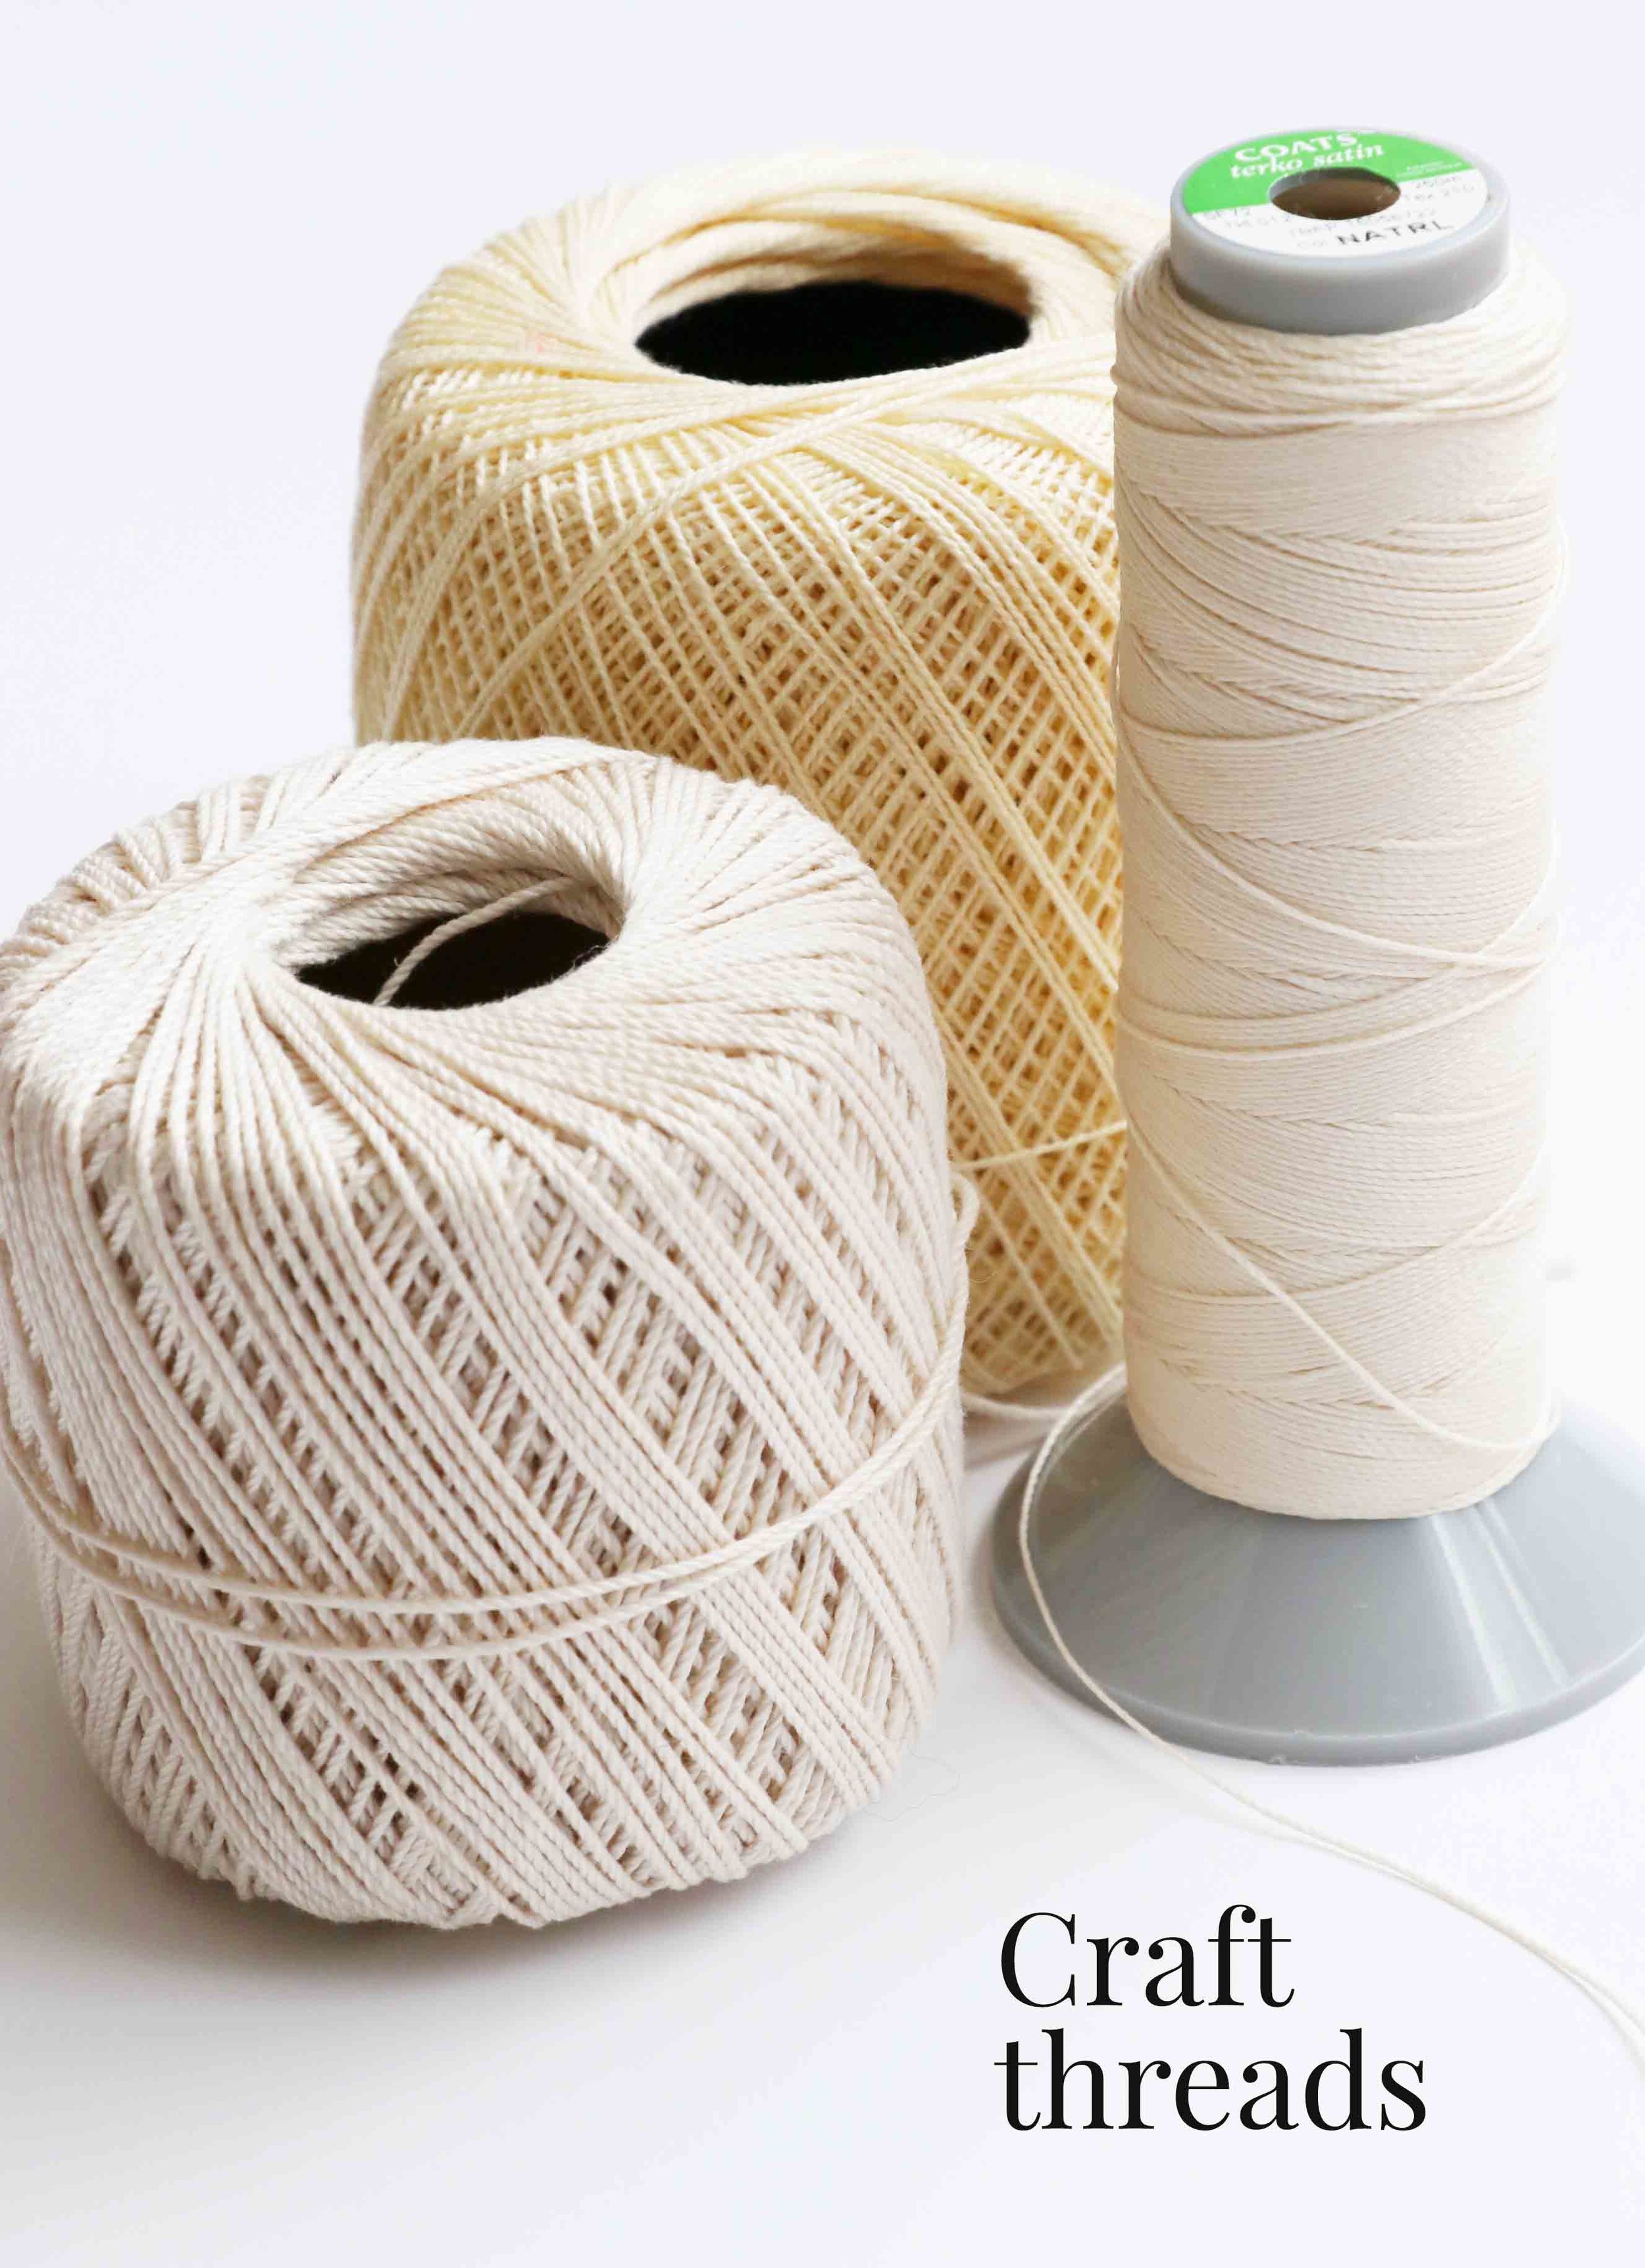
Craft threads to make dolls, waldorf-inspired or natural fiber art dolls. via Fig and me
9. Craft threads
For tying the doll’s head over the tubular gauze and other doll making shenanigans, we use strong craft thread. You can also use cotton crochet thread, in a weight that is not easy to break by pulling hard with your fingers. I normally double the thread when I am using craft threads.
I recently discovered the strength of Terko Satin thread and have been recommending it widely as it is very strong but also quite thin, so it is perfect to sculpt and tie doll heads, to use it for sewing doll joints, etc. When I use Terko Satin I do not need to double the thread.

Doll making needles, via Fig and Me
10. Doll making needles
For sewing the head, sculpting eye sockets, noses, lips, necks, torsos, you name it, you are going to need long doll making needles of different gauges and lengths.
I use the very strong and long ones to go through large doll heads; I use the thin long doll making needles to scultp the skin over the head. Each needle serves a purpose and depending on the size of the doll you are making, it is advisable to have them in a few different sizes.

Needle felting tools to make natural fiber art dolls, via Fig and Me
11. Felting needles and multi-tools
To sculpt wool with needle-felting techniques (or dry felting as it is called too) you need a special kind of barbed needle that tangles the wool fibers and felts them overtime with lots of poking and prodding. These needles come in a huge variety of gauges but to simplify, as you will be covering the whole thing with fabric anyways, I recommend three different kinds: spiral, triangular and industrial felting needles, in a medium-coarse gauge or size 36.
My favourite brand to use is WizPick needles and the gauge I mostly use is 36 or red tops. The spiral needles felt the fastest, the triangular ones felt fast, and the industrial ones are just very strong and less prone to breaking.
I will write a most detailed post on the vagaries of needle felting and give you my best advice, but for now we will leave it at that.
You will also need a tool that can hold multiple needles at once. All the ones above are good, though I recommend the pen-style the best. If feels better in my hand than the other two and I like its precision. It holds up to three needles. But you will also find a dizzying array of multi-tools with anything from 4 to 12 needles for very large work.

Doll making tools for the art doll maker, via Fig and me
12. Hemostats (or forceps)
These little gadgets are so helpful. I use them to bring small balls of wool that will become knees, elbows, thumbs, shoulders, etc. I use them to stuff the inside of the big rolls of wool for doll legs or arms. I use them to turn bodices, straps or any doll clothing piece right side out.
They are also very good when you need to pull needles out when embroidering or sculpting. You lock them in position and gently pull the needle out. They are extremely useful and i have them as well in many sizes. I use the 8” long ones the most.

Best mohair yarn for doll hair, via Fig and Me
13. Mohair yarn for doll hair
Now, I have talked before about these two favourite brands of mine and given them a product review, but I want to reiterate that mohair yarn for doll hair is not the same as the normal mohair yarn you would find in a local yarn shop.
This specific mohair has a really long staple and it is spun in a way that you can create a very full head of doll hair, by either using special crochet techniques or teasing with the product shown below.
Mohair yarn for doll hair comes in many lovely shades and styles. I used to use mohair boucle yarn quite a bit, but I haven’t used it that much lately.
You can use the mohair yarn to crochet doll wigs, add strands later or to crochet it with a weft as you go. There are so many different ways to use it but on its own makes the most adorable hair for dolls and it’s actually my very favourite doll hairstyle.

Doll making tools and list of materials, via Fig and Me
14. Wool carding brush
This little brush up here is used to tease more of the mohair out of the cap in order to create very fluffy wigs. I like this one so much because the wire teeth are rather gentle and I feel they need to be, so you don’t go snagging the nylon thread that binds the mohair yarn and you break it by mistake.
I have heard of people using pet brushes as well so there is also that.

Mohair weft to make doll hair, via Fig and Me
15. Mohair (goat) weft
Now, this is almost a “staple” in many dollmaker’s repertoires nowadays but I actually remember quite well when it made its introduction to the waldorf-inspired doll arena and the dolls were morphing already into natural fiber art dolls (they are not the same thing).
Mohair weft comes in a mind-boggling arrangement of colours, textures, fibers and lengths so you can literally create so many different hair styles for your dolls. It is extremely sturdy, it can be washed and styled a lot. I always recommend to wash a small piece of the particular weft you are going to use before you sew it or crochet it into a cap. This in order to see whether you have any issues with dye steadfastness. In my experience, black colours as well as some deep reds are big offenders so I am always wary of them and give them a real good wash before I use them.
If you want to check out the many different hair style options for dolls in this realm, head to my post on doll hair.

Suri Alpaca locks to make doll hair, via Fig and Me
16. Wool locks or Suri Alpaca locks
I am placing this in the list because it is one of the hair styles I use most often (and probably the one I dislike the most making…go figure!) since the dolls are always requesting it for their hair.
Using any sort of long fibre you can sew your own wefts. Suri Alpaca, Wensleydale, Teeswater, Icelandic, Mohair, Yak, you name it. I have used so many over the years but Suri Alpaca is the one I use the most because it looks a lot like real hair. It is also very soft and the natural colours that it comes in are some of my favourite shades in the world.
If you want to learn to use wool locks or Suri Alpaca locks to create your own wefts, you can find a very detailed doll hair tutorial here.

Blushing your natural dolls, via Fig and me
17. Red beeswax crayons
Since we try to use mostly natural materials in the creation of these styles of dolls we tend for the “impermanent” use of red beeswax to blush cheeks, noses, knees and elbows and any other body part you see fit.
Red beeswax goes away and that is one of the things I like about it the most. It’s not there forever. Like the dolls themselves, made of natural materials, they change with time. One has to spend a few minutes playing with the doll and re-blushing, which in my opinion fosters care and love in you and creates a bond with the doll.

Pens for freckles, natural fiber art dolls via Fig and me
18. Fabric pens
While we love that the red beeswax blush goes away, we normally wouldn’t love for the freckles to entirely disappear, so therefore we use permanent fabric markers or archival pens. I have them in many colours and sizes so I can create variety in the shape and shade of the freckles.

19. Stuffing tools
And last but not least, of course, you will need some sort of stuffing tool. I highly recommend the wool wand, not just because I designed it and my husband is the maker, but because I designed it for lack of something durable and effective. There are many different kinds of tools out there, but for rolling wool this is the best and of course the prettiest.
When you are in a pinch and if you are stuffing without rolling wool, you can use anything from a thick metal knitting needle, a thick wooden spoon or dowels. Anything that helps you push the wool down firmly.
Currently we do not have any wool wands in stock.
While this is not an exhaustive list yet, though I believe it gives you a general idea of most of the tools you will need. I am going to update this very soon with other missing materials like embroidery threads, weighing glass beads, lining fabrics, joints, crochet hooks and a few more natural fiber locks so you can see what they look like.
I have gone and made a little PDF list of everything so you can download it and strike off anything you already have and can be on the hunt for the ones missing. The PDF also contains a handy list of suppliers in different corners of the world, so that it’s easier for you to source everything.

Dollmaking Tools &
Materials
I hope you use this handy list and that armed with this knowledge of both supplies and suppliers, you can go and source everything you need to make dolls to your heart’s content.
I remember when I started my little doll journey and how difficult it was to even find the name of the brands for the fabric, let alone where to buy them. But the world of natural dolls has grown a lot in recent years, with many online shops carrying these supplies. Knowing how hard it was for me, I am more than happy to share my sources and ingredients with all of you.
I hope you are all well and see you all soon. Now that we are somewhat established again, I feel a renewed sense of purpose and hope to get back to my regular blogging life.